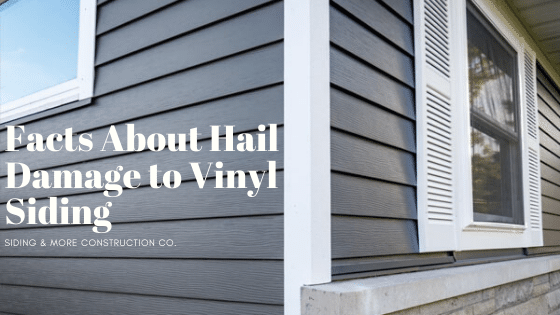


Patricia* didn’t think twice about choosing vinyl to replace her old and worn-out wood siding. Not only did she finally get the pretty blue color she always wanted, but she also knew she could enjoy that look for years to come because vinyl is more durable than other materials. And let’s not forget its practicality and high energy efficiency ratings. Simply put, there was no reason to choose anything different. The only questions she found herself asking were about the vinyl siding installation process. How long would it take? What are the steps involved—from preparation and installation to post-installation care and everything in between? Patricia deserved a detailed overview of her latest investment and what to expect every step of the way.
If you like Patricia’s mindset, you are not alone. Sure, you can trust the company doing the work, and you can be confident that vinyl siding will check every box in terms of look, feel, design, and function. But knowing what the process looks like can make the experience less stressful—and more satisfying. Most siding installations follow a series of predictable steps, so you can see exactly where your project stands at any given time.
Prep Work Is Key to the Vinyl Siding Installation Process
We can’t thank you enough for choosing vinyl siding to enhance your home’s look, feel, and comfort. You made a wise choice. Research consistently shows that upgrading your house siding is one of the best—albeit overlooked—ways to protect your home and, at the same time, make it the envy of the neighborhood. There are plenty of materials to choose from, including wood, aluminum, fiber cement, and vinyl. This is good news for homeowners who appreciate options and want to ensure they select the best product for their home’s unique needs.
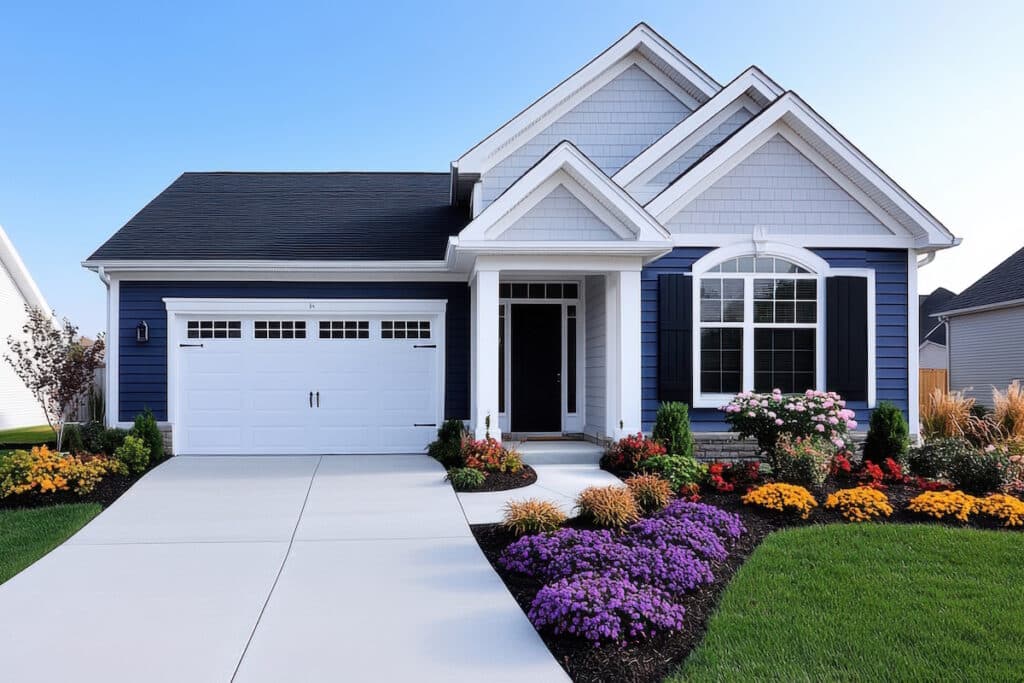
That said, not all house siding materials are created equal. Vinyl siding often stands out as the preferred choice—regardless of whether you have a starter home or a luxury estate. For instance, did you know you are less likely to recoup your investment in a major kitchen or bathroom remodel than you are to get back what you spend on new siding? In fact, siding replacement recouped 92.8% of its cost, according to a study by Remodeling Magazine, recently reported by HGTV.com.
With all these benefits in mind, the question becomes: how should you install your new siding?
The first step will always involve prepping the area for installation. From the moment our installation crew sets foot on your property, we do a visual inspection of the existing siding and what needs to be removed. This includes:
1. Clearing the work area
This can include moving outside furniture, decorations, light fixtures, and anything else that may be affixed to the existing siding. We do this for two reasons. For starters, our crew needs room to work safely. But more importantly, we want to protect your belongings from dust, debris, or accidental damage. Think of it as giving your home a “fresh canvas” for the new siding.
2. Protect your landscape and outdoor areas
The vinyl siding installation process involves a lot of movement around your home and the removal of old siding. We lay down drop cloths around the work area to protect your grass, nearby decking, and anything else that could be damaged during demo work.
Did you know you are less likely to recoup your investment in a major kitchen or bathroom remodel than you are to get back what you spend on new siding? In fact, siding replacement recouped 92.8% of its cost, according to a study by Remodeling Magazine, recently reported by HGTV.com.
3. Check for additional obstructions
This can include everything from tree branches that may need trimming to bushes and patio furniture. Our goal is to ensure nothing can get in the way of a perfect installation. Our crews prioritize having complete access to your home’s exterior.
4. Confirm measurements
A reputable contractor like Siding and More Construction Co. will double-check pre-determined vinyl siding measurements before installation day. That said, verifying them while on-site is an extra safety measure we take to ensure your vinyl siding will fit perfectly before we attempt to install it.
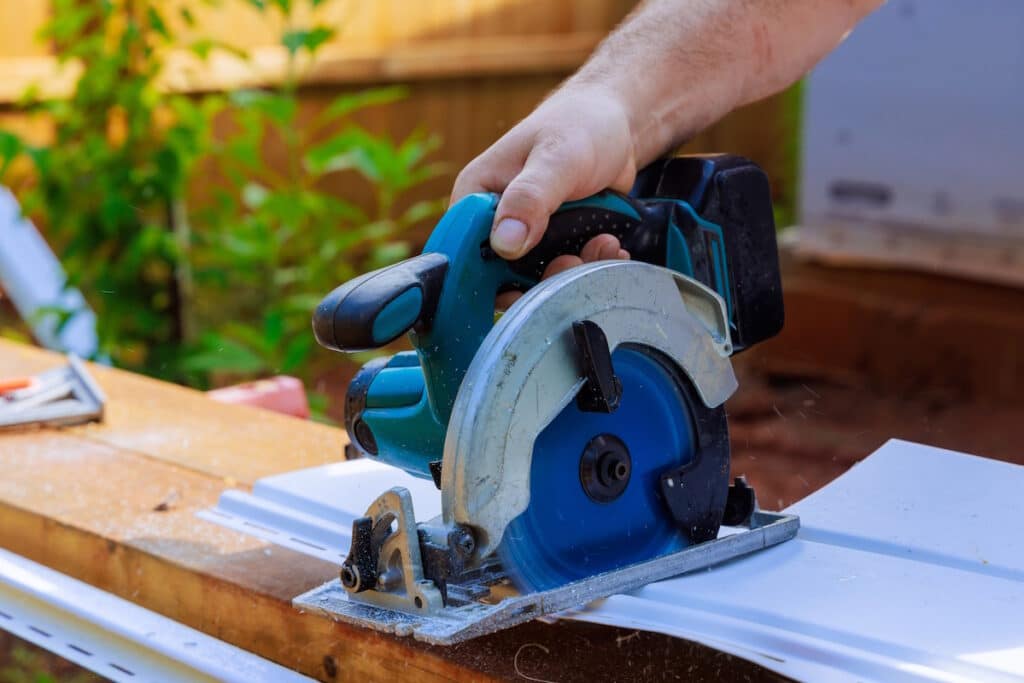
5. Remove old siding
Finally, any existing siding must be carefully removed to make way for the new vinyl. Many people choose to install new siding over old siding, but it is best to err on the side of caution and strip the area. This critical step ensures a clean, even surface and guarantees the longevity and performance of your new house siding.
Installing Your Vinyl Siding
Once we have prepared the area and confirmed the accurate siding measurements, it is time to install them. This is the fun part of the vinyl siding installation process for you and our team, as all the hard work of picking out the perfect product for your needs and wants will slide onto the side of your home like a glove. Our professional installers follow a detailed process to ensure a secure, smooth, and long-lasting fit.
1. Remove old siding
If not done during the prep work stage, our crew begins carefully removing your existing siding panel by panel. As we remove the old, we are paying particular attention to the surface underneath, inspecting it for previously hidden damage, rot, mold, exposed nails and screws, etc.
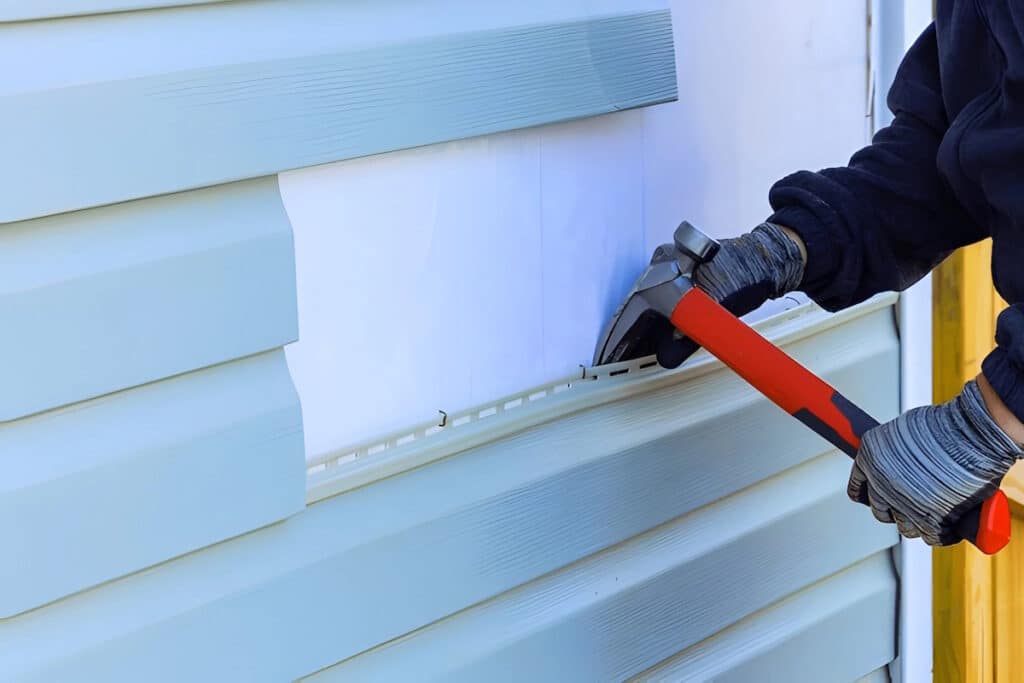
2. Inspect and prepare the wall
Most homes are in decent shape once the old house siding is removed. Still, it is important to smooth down the area to ensure a balanced surface. We also repair any hidden issues before the first new panel is installed. This way, we are not covering up problems and allowing them to become bigger problems for you and your family down the road.
3. Apply flashing and sealant
While your new vinyl siding is the best money can buy, it still needs additional protective flashing, house wrap, and high-quality sealant to prevent moisture and hidden air leaks.
4. Attach the new vinyl siding
This is the part you have been waiting for. Panels are installed from the bottom up, overlapping carefully to create a smooth, uniform look. Our team of installers at Siding and More Construction Company levels each panel and ensures there are no gaps that could allow air or water to penetrate.
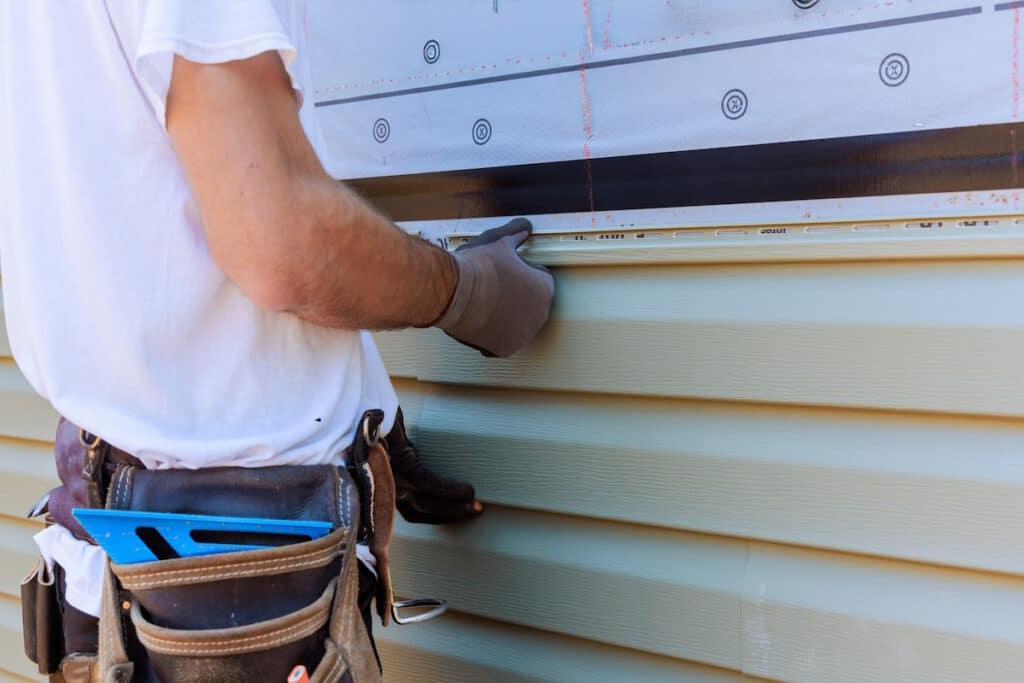
5. Finishing touches
Once the vinyl siding is in and secured, our crew use exterior caulking to ensure an additional weatherproof barrier and a polished look.
6. Final inspection and cleanup
We want your vinyl siding installation process to be as smooth as possible. This is why we do a thorough inspection afterward. If anything is not up to our standards, we fix it immediately. Once finished, we clean up any debris, remove the old siding from your home, and restore your landscaping and outdoor furniture to their original condition.
Post-Installation Care Is a Must
1. Allow the sealant to cure
Any sealant or exterior caulking applied around trim, windows, doors, and seams needs time to fully set. For the first 24 hours, avoid washing or spraying the siding, as these steps can prevent the materials from curing properly and forming a tight, weather-resistant seal.
2. Inspect frequently
As you marvel at your new vinyl siding, check for any air leaks not identified during installation. Look for loose panels, gaps, or areas that don’t seem to sit quite right. This is especially true after the first few weather events. We want you to have the tightest seal possible.
3. Additional care steps
Keeping your house siding clean ensures it will always look brand new. You will also want to inspect weatherstripping annually, as it can easily wear out over time. With just a little routine upkeep, your vinyl siding will continue to look great and protect your home for decades.
The Vinyl Siding Installation Process is Smooth Sailing with Siding and More Construction Company
Upgrading your house siding is one of the most effective ways to enhance your home’s appearance, feel, and functionality. It is an investment many homeowners know they need to prepare for. That said, it can be challenging to determine the best path forward. This is where Siding and More Construction Company can help. We are believers in the seemingly endless benefits of vinyl siding, and our vinyl siding installation process is second to none.
For one of the best siding contractors in the Dallas-Fort Worth area, please consider Siding and More Construction Company. We can confidently say that we take our time to collaborate with you to choose the right materials for your home and then use best-in-class materials and top-flight industry knowledge to ensure your installation goes off without a hitch.
At Siding and More Construction Company, we offer a range of vinyl siding options designed to withstand the unique Texas climate. With nearly 40 years of experience in the Dallas area, our experts are ready to help you select the ideal siding for your home, ensuring its durability and enhancing its curb appeal. That includes ensuring our customers have chosen the right materials for their style, taste, and home needs, and then following up with precise installation techniques so that the job is done right the first time.
Request a consultation to discover how we can enhance your home’s exterior. To get started, call us at 972-636-3513 or contact us for a free estimate with the form below.
"*" indicates required fields
Siding and More Construction Company serves the North Texas area including these cities in the Greater Dallas metroplex and more: Addison, Allen, Arlington, Canton, Carrollton, Cedar Hill, Dallas, Desoto, Duncanville, Farmers Branch, Forney, Garland, Greenville, Lancaster, McKinney, Mesquite, Plano, Richardson, Rockwall, Rowlett, Irving, Terrell, Royse City and nearby areas.
*Customer names and/or photos may be changed to protect privacy.